For this second blog entry on the Wacom Cintiq 24HD (read the first one here), I wanted to show all of the different settings I’ve chosen for the Express Keys, Touch Ring and Radial Menu. I’m very comfortable using these hardware features on the Intuos tablets, but had to change everything up for the Cintiq for two reasons. The first is that there are more settings to choose from. The second is that working directly on the screen changed how I do things.
These Photoshop settings are in no way being shared in order to tell you what you should do. Feel free to borrow anything you see here, of course, but I would encourage you to experiment with the settings and find ones that work best for you. There are so many possible configurations that you can almost program each of the Express Keys, Touch Rings, and Radial Menu for anything you want Photoshop to do. The feature I like best is that you can even program different settings for every piece of software you have.
My buddy Jeff Foster is an Author, Producer and VFX Artist at Sound Visions Media. My setting for brush size on the pen, which I’ll explain later, was his suggestion and it works very well. Since I’m no longer using the Touch Ring for brush size, he also suggested that the Touch Ring can be used for any keystroke operation at all, so it’s important to think differently and creatively. I still haven’t finished experimenting with my Touch Ring settings, so some of the ones I show here will likely change.
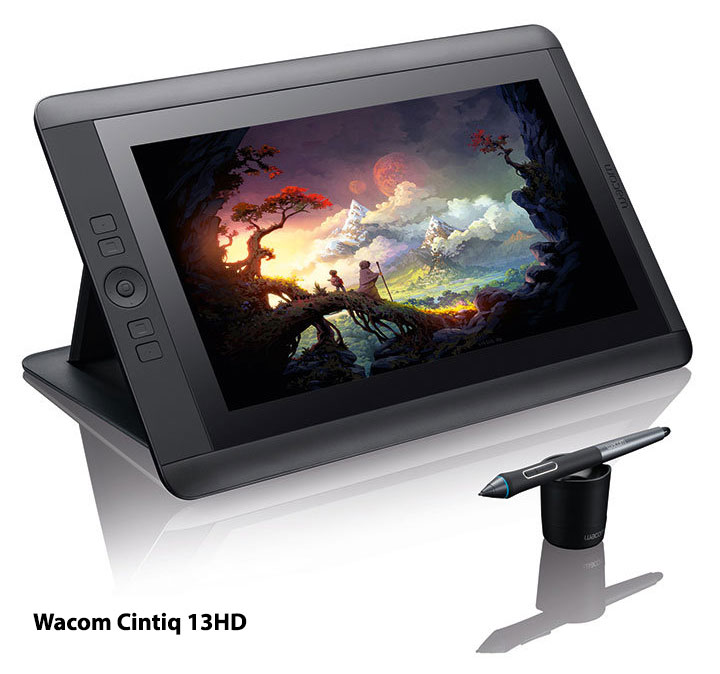
Because there are so many settings to explain, I’ll just get right to it. Here are some photos that show you what the buttons I’ll be talking about look like on the actual hardware. I got these images directly from the Wacom site, so if you want to know even more about the Cintiq 24HD than what I’ve shown here, just click on any of the images and you’ll be instantly transported to their website. It’s like magic, don’t you know?
 As you can see from the image at the beginning of this post and the ones above and below, there are five Express Keys and a Touch Ring, with three settings each, on either side of the display. Additionally, there are three buttons above the display for features I’ll explain later. On the top edge of the display, which you can’t see here, there are a series of buttons like you would find on any monitor, to adjust your display color, brightness and contrast settings. Incidentally, I like to work with my monitor brightness a lot lower than most people. I have my Contrast set to 50, my Brightness to 13, and my Backlight to 0 (Zero). You might think that a little odd, but it works very well for me. My monitors have always been set to low brightness and my eyes don’t get strained as easily from long hours in front of a display.

Let’s talk about those three little buttons at the top right above the display. From left to right, there is one that has a lower case letter i, one that looks like a keyboard, and one that looks like a wrench. The i is for information, and when you press that, you get the image that you see below. It fills the display, regardless of the software you’re using, BUT the settings you see displayed will be the ones you have set for that particular piece of software, or the default settings. What you see here are my settings for Photoshop. This is a great feature because you might forget what you have a button set for and this will show you in real time. We’ll zoom in on all of these in a minute.

The second button will bring up the on-screen keyboard, which is pretty self-explanatory. Sometimes you just want to type in a layer name, or press a number, and you don’t want to have to go fishing for your actual keyboard, especially since it might be under your Cintiq.
Finally, there is the button with the wrench on it, which will bring up your Wacom Tablet Properties. I just think this is very clever to include this as a hardware button because sometimes you just want to make a quick change to your settings, and you don’t want to leave your software or go searching for it in your menus. Press the button, it will bring up the panel you see here, make your change, close it and go right back to work.

Now let’s take a closer look at how I have my Express Keys, Touch Rings and Radial Menu set up. I won’t show you how to make these changes, because that will require a whole new post. If you want some help, I recorded a couple of videos for the Intuos5 and those will show you how to change your settings, even on the Cintiq. Here are a couple of links, one for the Express Keys and Touch Ring and another for the Radial Menu.
Let’s take a look at the Express Keys and Touch Ring Properties. As you can see below, the three buttons for the Touch Ring are currently set to Zoom, Brush Size, and None. Rather than use the default Zoom, however, I have mine set to Ctrl- and Ctrl+ (Cmd- and + on the Mac) shortcut for Zoom. The reason is that will zoom in and out in increments that keeps my painting sharp and crisp. Some of the other increments in between can make images a little blurred and I don’t like that. So my zoom isn’t a smooth transition, it goes in steps.
Brush Size is self-explanatory, although I now have that on my pen, so I’ll be finding another use for this spot, I think. The third one is normally set for Rotate, as in rotating the canvas, but I have it set to None simply because I was recently recording a video and didn’t want to accidentally zoom in while recording if my finger touched the ring, so I set this to none and left it there while I recorded. Again, I’ll be finding another use for this one, too.

For the Express Keys on the left of the display, I have them set as follows:
1) Undo – Ctrl-Alt-Z. (Cmd-Option-Z on the Mac). When I’m painting, I pretty much keep a finger on this most of the time and it allows multiple undos.
2) Color Picker – This is not a normal keyboard shortcut, so I had to create one, which is fairly easy to do in Photoshop.
3) Shift – a Modifier Key that will give many tools more options.
4) Ctrl – (Cmd) another modifier key.
5) Pan/Scroll – In Photoshop, this is the Hand Tool and it will allow you to move around the canvas.
On the right side of the display, the Touch Ring again is still set for the default settings. I know I’ll find a use for it, I just have to get creative and even more efficient.

For the Express Keys, they’re set as follows:
1) Gamut Check – Ctrl-Y (Cmd Y). I draw and paint in sRGB, but I’m always aware that my editorial cartoons are printed in CMYK and some of my paintings and illustrations may be printed that way as well. My color picker is set so I can only choose colors that are ‘in gamut’, which means when converted to CMYK, they won’t shift. But sometimes when I make a Levels or other Color adjustment, it will shift colors too far, so I’m always checking Gamut to make sure everything looks as it should. Newspapers do not have universal color settings. Some publications have downright hideous printing, so I try to find a happy medium to please everybody. Yeah, I know…good luck with that.
2) Hide – Ctrl-H (Cmd-H) When I’m working with selections, this hides the little ‘marching ants’ that define a selection, because I hate looking at the moving dotted lines when I’m painting.
3) Radial Menu – This is Wacom’s way of giving you even more choices. It’s an onscreen heads-up display that gives you an opportunity to program your own menus and submenus. I’ll show you my Radial Menu settings in a minute.
4) Fit Screen – Ctrl-0 (Cmd-0) Zooming in and out of a painting or drawing, often I just want the image to reset to fit screen.
5) Display Toggle – I have multiple displays, my other one is above the Cintiq. When I want to access the other display, I press this button and my pen can move the cursor to my other screen, which makes the top half of the Cintiq display work just like a traditional Wacom tablet. It’s a great feature.

My Pen Settings are as follows:
Erase – This button is a waste for me and I can’t even think of a reason to use it for something else, either. I’m sure other people do use it, but I never have.
The button on the pen is actually two buttons. Originally, it’s set for a Left Mouse and Right Mouse configuration, but as mentioned previously, my friend Jeff gave me a reason to consider other options. For the left Mouse Button, the one furthest from the tip, I have it set to the keystroke configuration you see in the image. What this allows me to do, when I have the Brush selected in Photoshop, is change brush size very fluidly. I press the button, move the pen left or right and I can see the brush size change on the screen. This was one of those, “I wish I’d known this sooner!” moments, because I would have had my Intuos tablet set to this as well.
The Right Mouse button, the one closest to the tip, is set to Alt (Option on the Mac). When I have the brush selected in Photoshop, this toggles the Eyedropper Tool for easy selection of color in a painting. I use this constantly for better blending and color transitions in my work. So now I can change brush size and select color quickly and easily right from the pen. It’s a very enjoyable way to paint.
And finally, here are my Radial Menu settings.

When you press the Radial Menu button, you get the circle on the right, which is fully customizable. If you wanted to, you could make every one of those pie pieces into a submenu. I currently only have three. When you click on each of those submenus, you get the images on the left. Each submenu can not only have a full selection of pie pieces, but those can be submenus as well. I’m no math wizard, but that gives you a LOT of choices for custom configuration.
Obviously I don’t need to explain every one of them, but I’ll give you some thoughts on what some of the more unique ones do.
Blend Modes Submenu – I use four Photoshop Actions for Blend Modes all the time in my drawing and painting. OK, that one that reads ‘Cartoon Websize’ is an Action for something else, but I had nowhere else to put it and I use it every day. But the rest are for Blend Modes, I assure you. If you don’t know about Blend Modes in Photoshop, my buddy Scott Valentine just wrote a great new book that explains them very well. I’ll have a review of the book very soon, but if you want to check it out, here’s the link. The Hidden Power of Blend Modes in Adobe Photoshop.
Flip Canvas – Often when I’m painting, I want to shift my perspective, so I’ll flip the image I’m working on horizontally. You’d be surprised how helpful this can be, especially when it comes to likeness in portraits. Sometimes I’ll just know that something doesn’t look right but I can’t put my finger on it. By flipping the canvas, the problem will almost always become immediately apparent. Your brain gets lazy and this will often give your perception a bit of a slap.
So there you have it. These are my settings on the Cintiq 24HD…for now. I fully expect to make little changes and tweaks as I get more used to the display, but these settings are working very well for me at present. There really is no excuse for not being able to customize this display to work exactly the way you want it to. Yes, it will take some time to get it perfect, but it’s worth it. Wacom has not only provided hardware that will allow you to create the best drawing and painting experience possible, but the software takes it even further.
Don’t be afraid of making changes. There is a default button in the Wacom Tablet Properties. If you mess it up too much, you can always start again. When you do get the settings you want, however, back them up! I can’t stress this enough. Computers aren’t perfect, software can conflict with other software, and stuff happens. There is a Wacom Tablet Preferences Utility included with the software. It will allow you to save and restore your preferences should the unthinkable happen. Just as you should back up your images and files, you should also back up your preferences.

If you have any issues, Wacom’s technical support is very helpful. And finally, if you just have any questions, I’m happy to help, too. Thanks for stopping by and hopefully this helped you see some possibilities you might not have considered, whether you’re using Wacom’s Intuos tablets or their Cintiq displays.


 Eventually, I got Photoshop and have been shackled to Adobe’s subscription model ever since. Remember when we were allowed to buy stuff, instead of renting it forever? Yeah, it’s a sore spot.
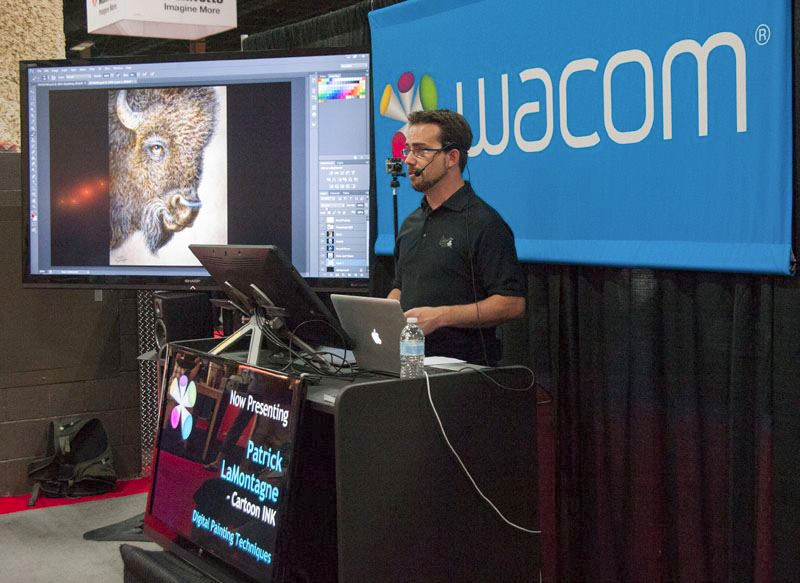 Over the past 15 years, I’ve had several chances to work with Pam and Wacom. I’ve done demos at Photoshop World, been part of webinars, and recorded videos for new products. Once, Wacom even hired me to demo their gear at a packed event in Calgary. I remember opening a shipment of their displays and thinking, “What have I gotten myself into?”
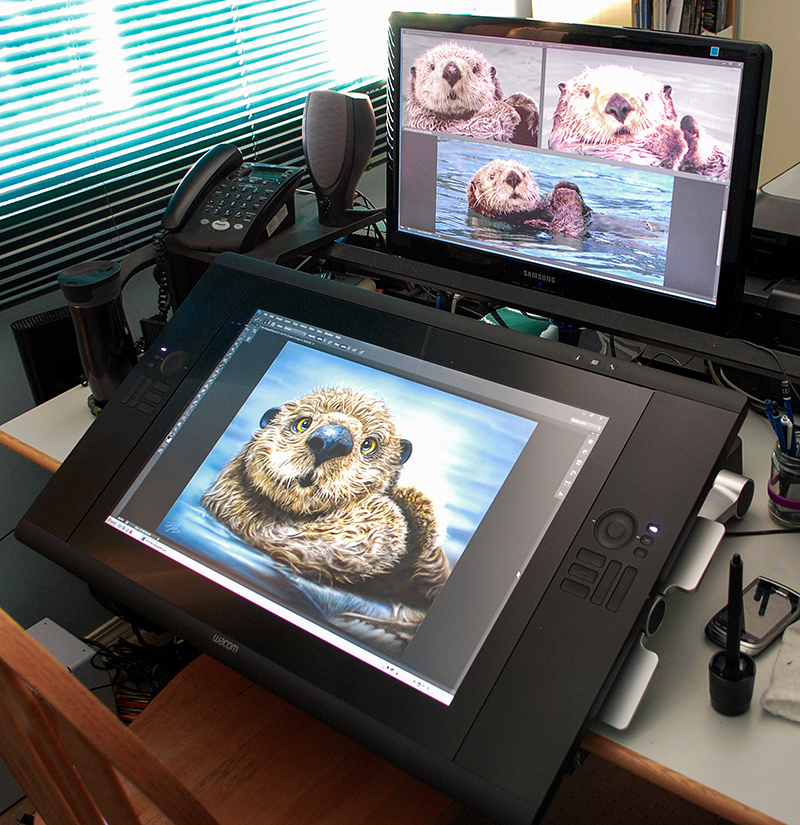 Here it is when brand new, 13 years ago, along with my Otter in progress, still one of my bestselling paintings. Wait…is that a Blackberry?!