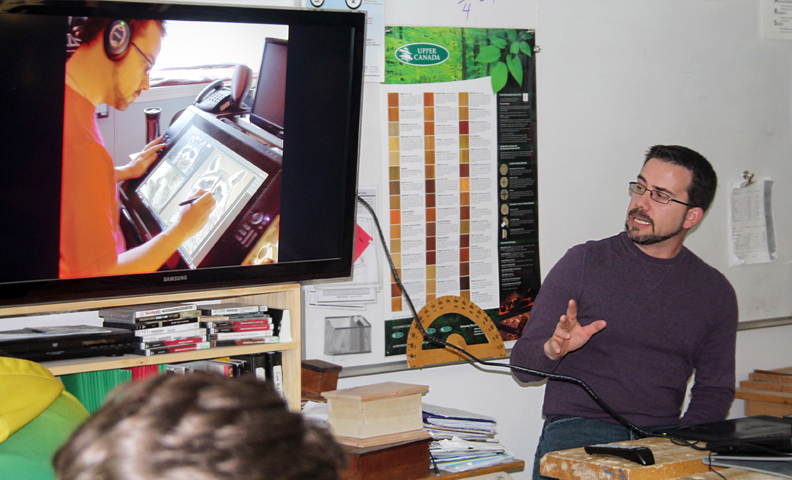
In the late nineties, when I first started to create art professionally, I had primarily drawn in pencil or pen on paper. Up until my first editorial cartoons for a local newspaper, I had never considered art as anything more than a hobby.
I had played around with some art on a computer from time to time, but only using a mouse. If you’ve never done that, it can be a rather frustrating experience, especially when you try to include any detail.
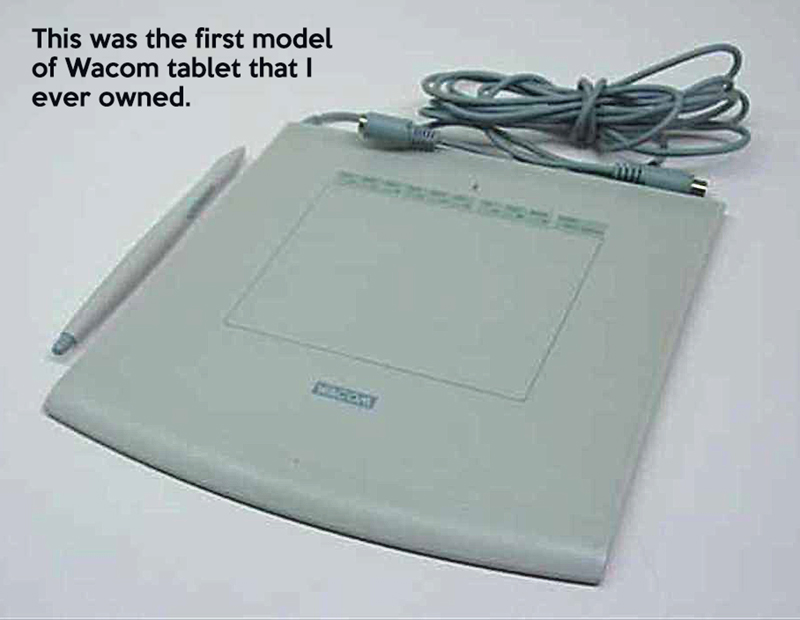
Digital drawing tablets were in their infancy, but I knew I wanted one. My ever-supportive parents bought me my first one as a gift. It was the first generation Wacom Intuos tablet, quite small, with a working surface of just 4 X 5 inches.
I thought it was one of the coolest things I ever owned. I’ve been drawing and painting on a computer ever since.
 The technology was so new then, that you had to explain it to people. The worst part was that as soon as you said you worked on the computer, people figured that the computer was doing all of the work. It certainly didn’t help that one of the most popular and widespread pieces of art software on the planet was (and still is) Adobe Photoshop.
So not only was the computer doing all of the work, but all a digital artist was doing was changing a photo. I can’t count how many times I heard that stated with authority.
I’ve spent over half of my career explaining to people that digital drawing and painting is just as much of an art medium as oil, acrylic or watercolour. These days, the stigma surrounding digital art is largely gone and people realize that it’s more than just pushing a button or applying a filter. There are countless skilled artists around the world now creating digitally, each an ambassador for the medium.
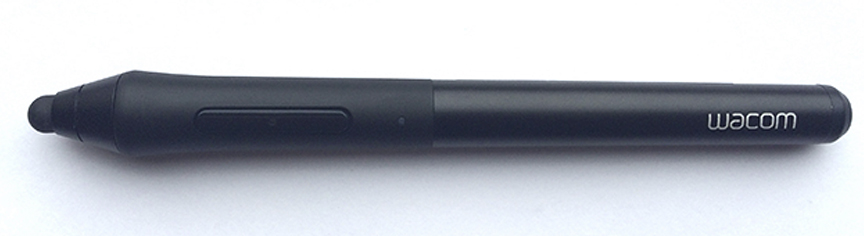
One of the pillars of my two decade career has been that I’ve always worked on a Wacom tablet or display. They were the only name in digital art tools when I first started and they’ve remained the industry standard for quality and innovation. Whenever I’ve replaced one, it has been to take advantage of something new they’ve come up with that would make my work more enjoyable or efficient, never because it broke or stopped working.
I still have a backup Intuos 5 tablet in my closet; ready as a substitute should my Cintiq 24HD display ever stop working. It’s like an insurance policy, but one I never really expect to use. I would never want to be without a Wacom device.
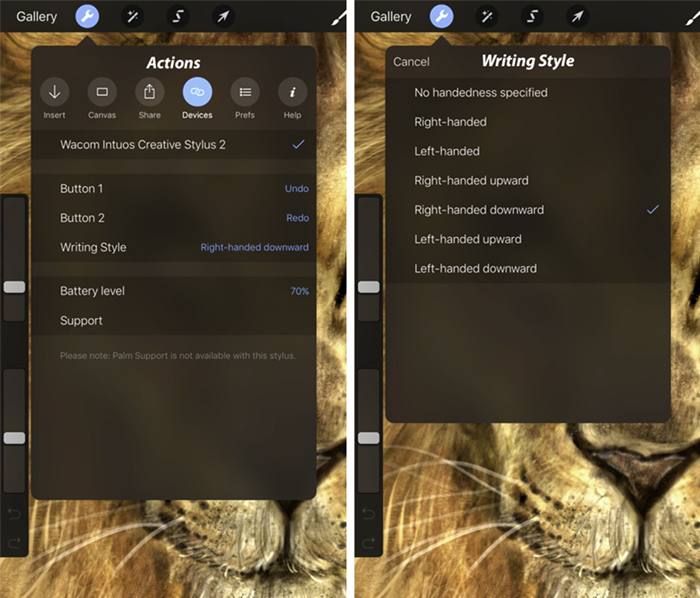
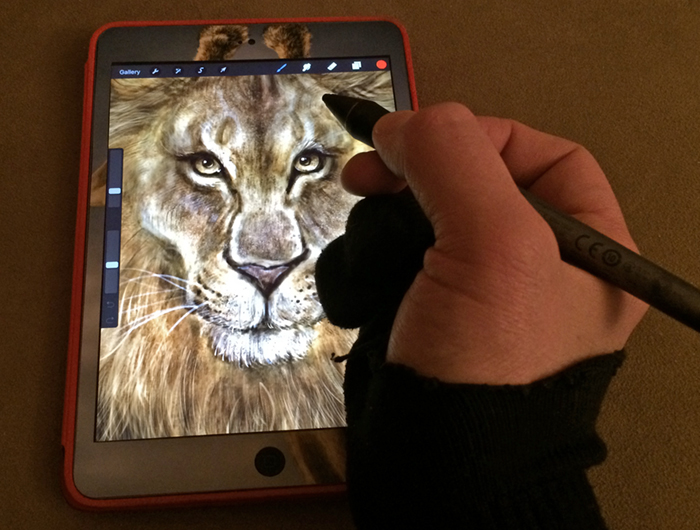
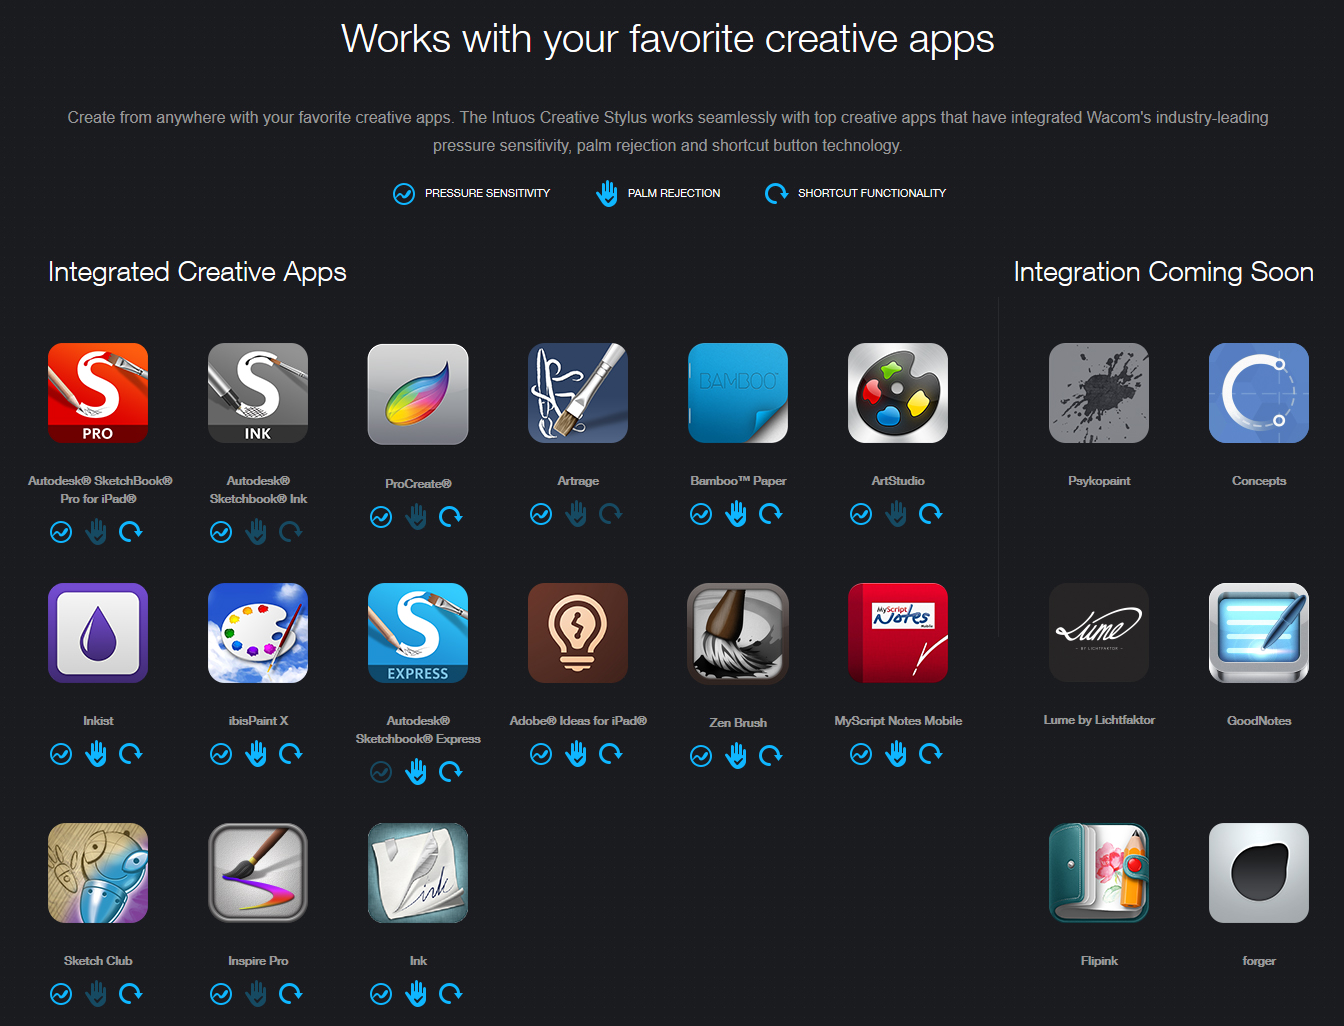
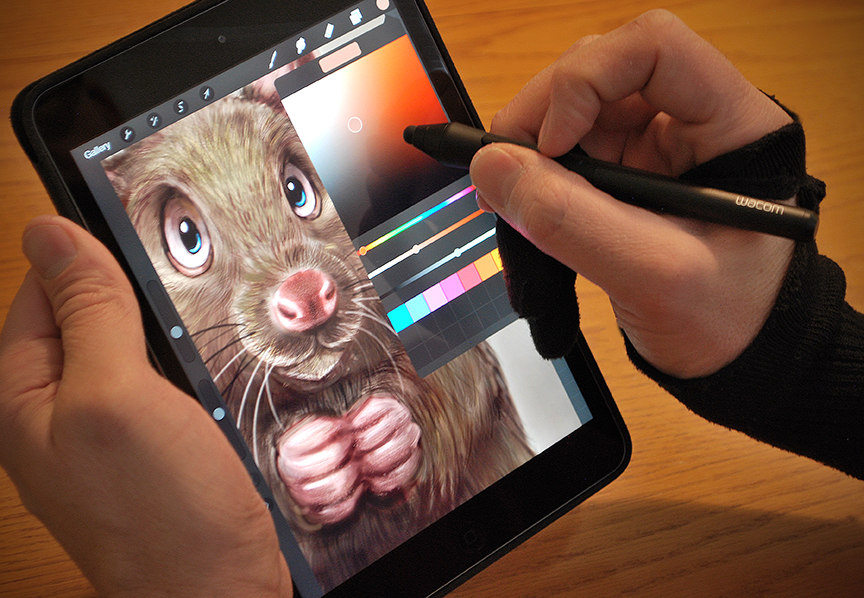
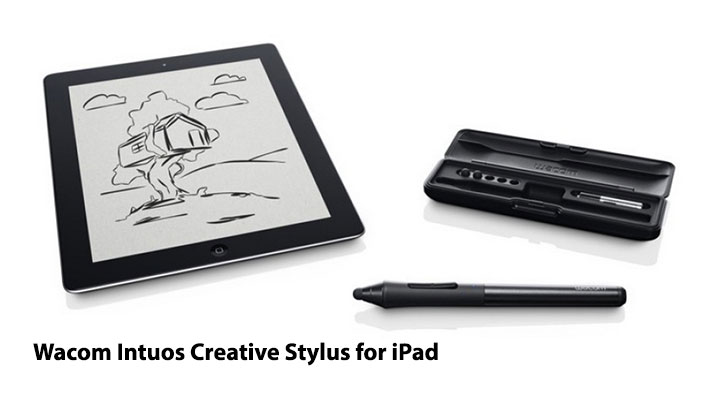
Even today, with advances in mobile drawing technology, I only use my iPad Pro and Apple Pencil for practice pieces and sketches. All of my finished work is done on my Wacom Cintiq.
In 2010 at the Photoshop World Conference, my funny looking animal paintings were still pretty new and I was thrilled to win the Guru Award for the Illustration category AND the Best in Show Award. In a strange twist of fate that would change the course of my career, the emcee of the event, Larry Becker, misspoke and said that the top prize was a Wacom Cintiq 12wx display.
I was pretty excited about that since it was Wacom’s first crack at a portable drawing display on an actual screen.
When I went to the Wacom booth at the Expo to claim my prizes, I was told that the 12WX wasn’t actually one of them. I was disappointed but I understood that mistakes happen and wasn’t going to hold them to it. But Wacom being who they are and Larry Becker being a class act, they made good on the slip and sent me the display shortly after the conference.
As great as that was, however, the best part was that I met Pam Park.
In every career, there are people who show up to mentor, encourage and give you the right push or connections when you need it. I’ve been fortunate to have some great support over the years from some special people, without whom I believe my work and life would be significantly diminished.
I loathe the phrase, “it’s not personal, it’s just business,” because it’s most often a cop-out people use for bad behaviour.
We don’t really have relationships with companies; we have them with people, so it’s always personal.
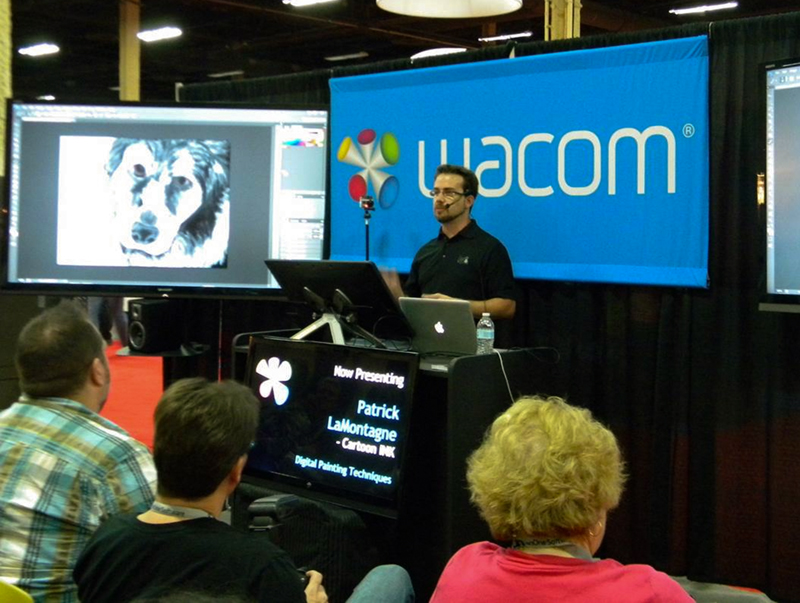
From that first meeting with Pam at Photoshop World in 2010, I then became acquainted with two others at Wacom, Joe and Wes. Over the next five years, the three of them hired me to do webinars for them, inspirational videos for new products, blog posts and I even represented the company at a training seminar in Calgary in 2011.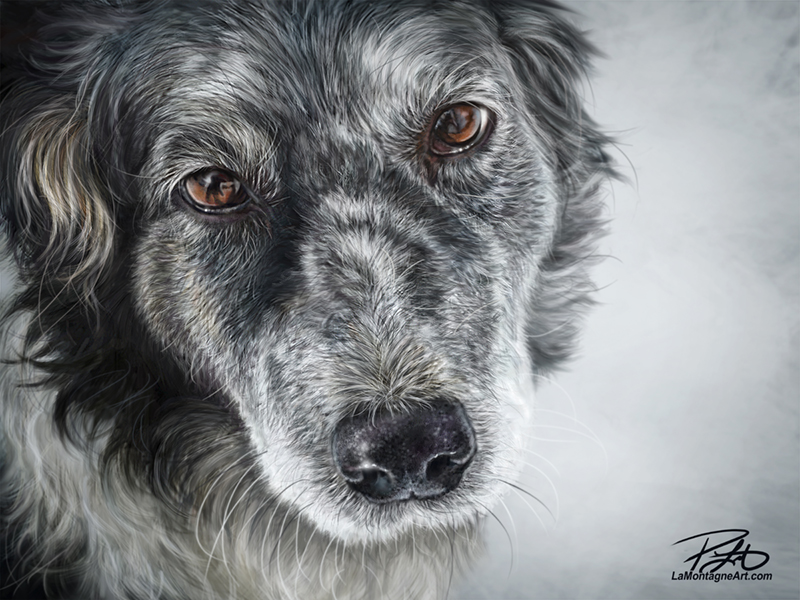 For one demo I did for them, the subject of the painting was Pam’s dog, Brisby, seen above.
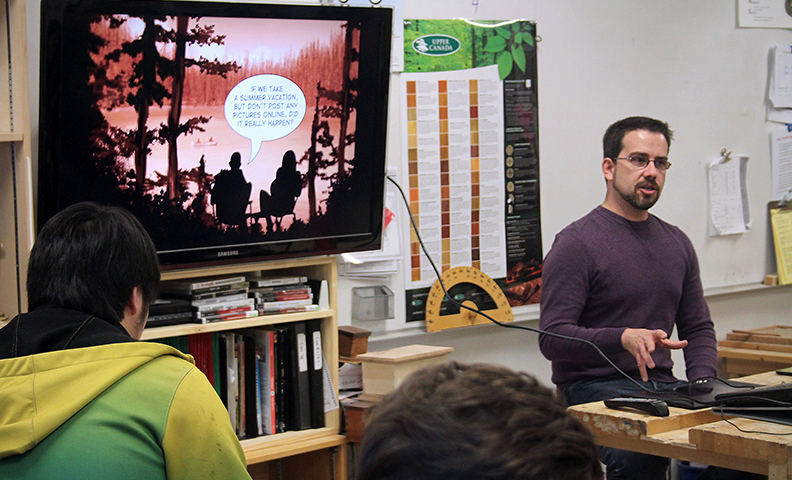
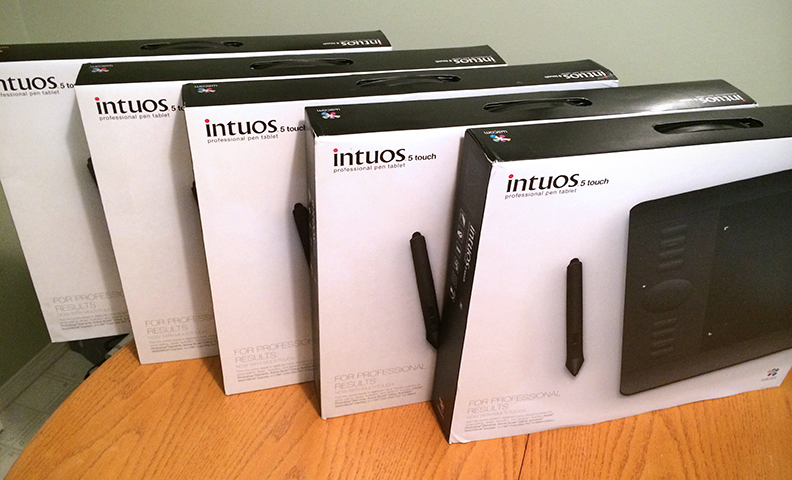
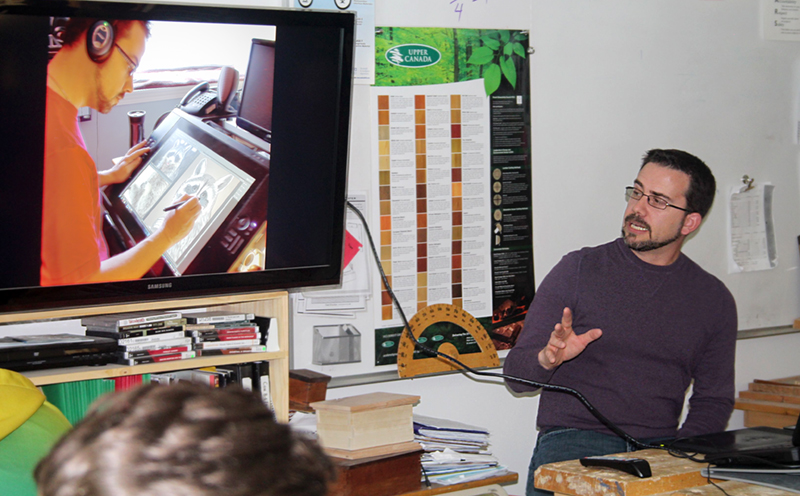
On one visit to the Banff High School in 2014, to talk about and demonstrate digital art, Wacom generously donated a number of tablets to their new media program that I was thrilled to deliver personally.
 At Photoshop World, I would give presentations at their booth; one of those rare cases where doing it for the exposure was well worth my time. Being associated with Wacom has always been good for my career and professional credibility.
 As the saying goes, however, all good things must come to an end. At one point, they had wanted to hire me to come down to the Consumer Electronics Show in Las Vegas and work at their booth. Being Canadian, I realized I couldn’t go without a work visa and there just wasn’t time to get one. A few years ago, as my friends at Wacom moved to other positions and one left the company, the opportunities for me to work with them fell off.
A new person in marketing took things in a different direction and I had resigned myself to the fact that I’d had a great experience for quite a few years with Wacom, but that it had run its course with no hard feelings. It sure was fun while it lasted. The only regret was that I lost touch with those people who made it happen and who had such a positive impact on my career.
Then out of the blue a couple of weeks ago, I got a personal email from Pam, checking in to say Hi. It was great to hear from her and in the course of catching up, she mentioned that she was back in a marketing and promotional position with Wacom and if I ever wanted to work with them again, they’d be happy to have me.
I had to give that some serious thought, for about a millisecond.
Considering the wealth of talent they have representing their products these days, it was a real honour to be asked once again to add my voice to the chorus.
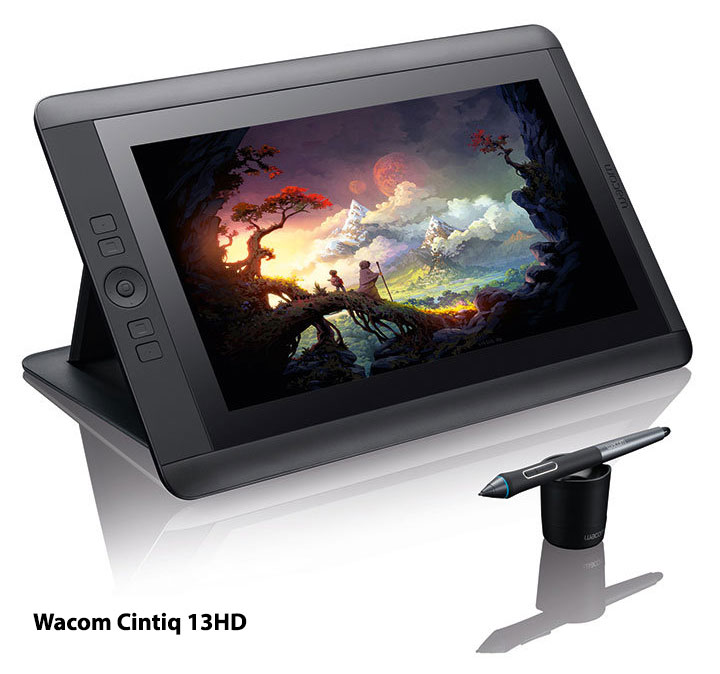
After some back and forth catching up, Pam told me she was sending me the new Wacom Cintiq 16. I’ll be putting it through its paces, doing some painting on it and recording some videos for Wacom, the first of who knows how many in the near future. It’ll be a nice replacement for my Cintiq 13HD, which for the record, still works just fine.
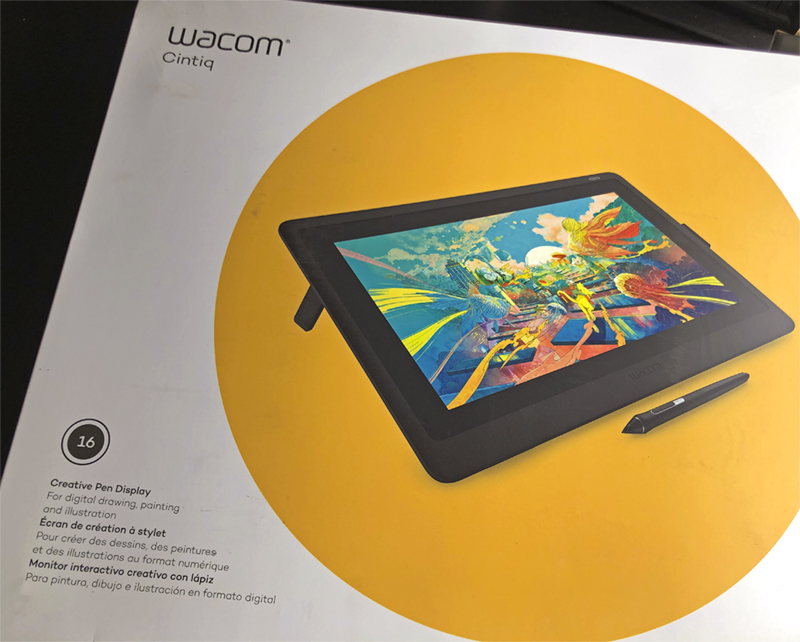
The Cintiq 16 arrived by UPS before I was finished writing this post, and I realized that the feeling of receiving a new piece of Wacom tech, it just never gets old. In fact, I’m probably more excited about this display than I was at receiving my very first tablet twenty years ago.
Because now I know what I can do with it.
Cheers,
Patrick
If you’d like to receive my newsletter which features blog posts, new paintings and editorial cartoons, follow this link to the sign up form.